






DTF Wash-Test Protocol: Diagnose Cracking, Peeling, and Shedding
A controlled DTF wash-test protocol for identifying cracking, peeling, shedding, and their likely production causes.

A DTF wash test should identify when, where, and how a transfer fails, not merely show whether one shirt survived a wash. Cracking, peeling, and shedding are different failure modes, so a useful protocol controls the garment, artwork, consumables, curing, pressing, laundering, and inspection conditions. Changing one variable at a time turns a complaint into evidence that a printer, distributor, or film supplier can act on.
This page focuses on test design and diagnosis. For a broader explanation of material and application causes, see why DTF prints crack after washing.
What Is the Difference Between Cracking, Peeling, and Shedding?
Cracking means the printed layer splits while some or all of it remains attached. Cracks often follow stretch lines, thick ink areas, or a brittle adhesive layer. Peeling means the transfer separates from the textile, commonly at an edge or an area that received weak contact. Shedding means small fragments detach from the design during flexing or laundering. Treating all three symptoms as “bad film” hides the information needed to locate the actual cause.
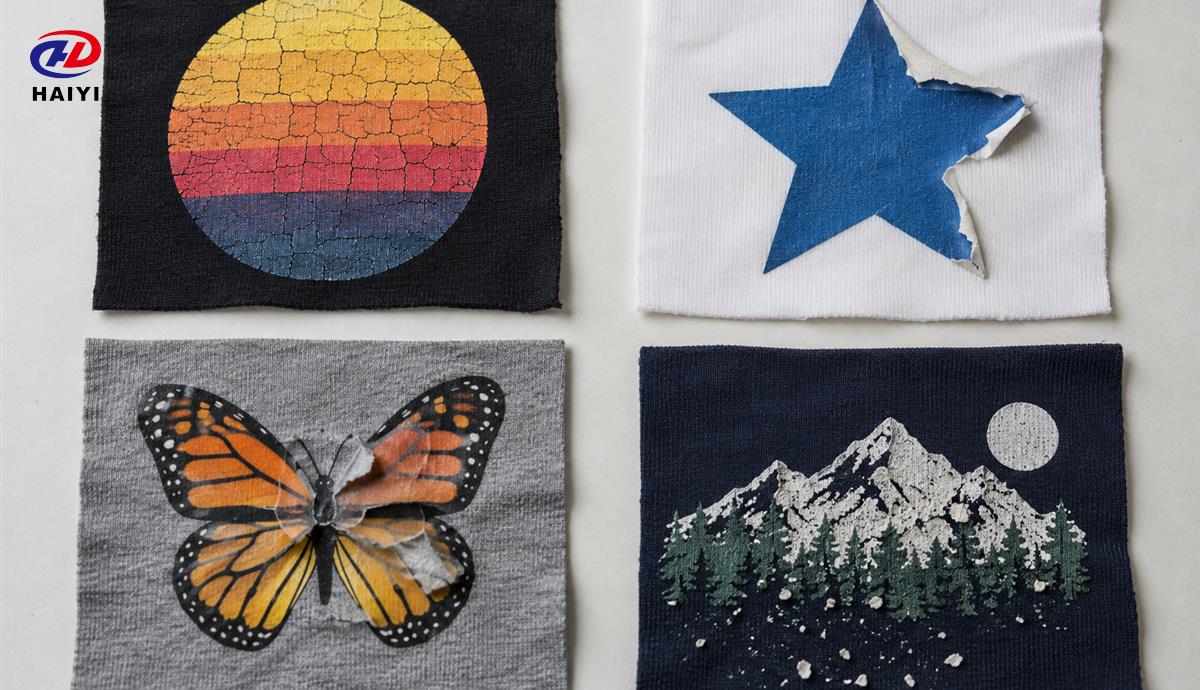
| Observed symptom | First variables to investigate | Useful confirmation test |
|---|---|---|
| Fine cracks across a solid print | Ink deposit, curing, press exposure, garment stretch | Compare a lighter artwork area and a stretch-rated system |
| Edges lift before the center | Pressure distribution, seams, platen temperature, contamination | Move the sample to the platen center and map pressure |
| Random small fragments shed | Powder coverage, cure uniformity, moisture, brittle layers | Inspect an unwashed control under magnification |
| Only one fabric fails | Fabric finish, heat sensitivity, texture, stretch mismatch | Press the same transfer onto a known control fabric |
How Should DTF Wash-Test Samples Be Prepared?
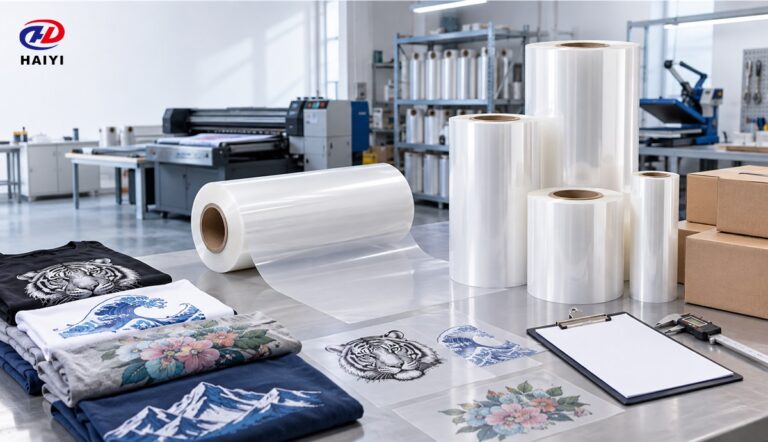
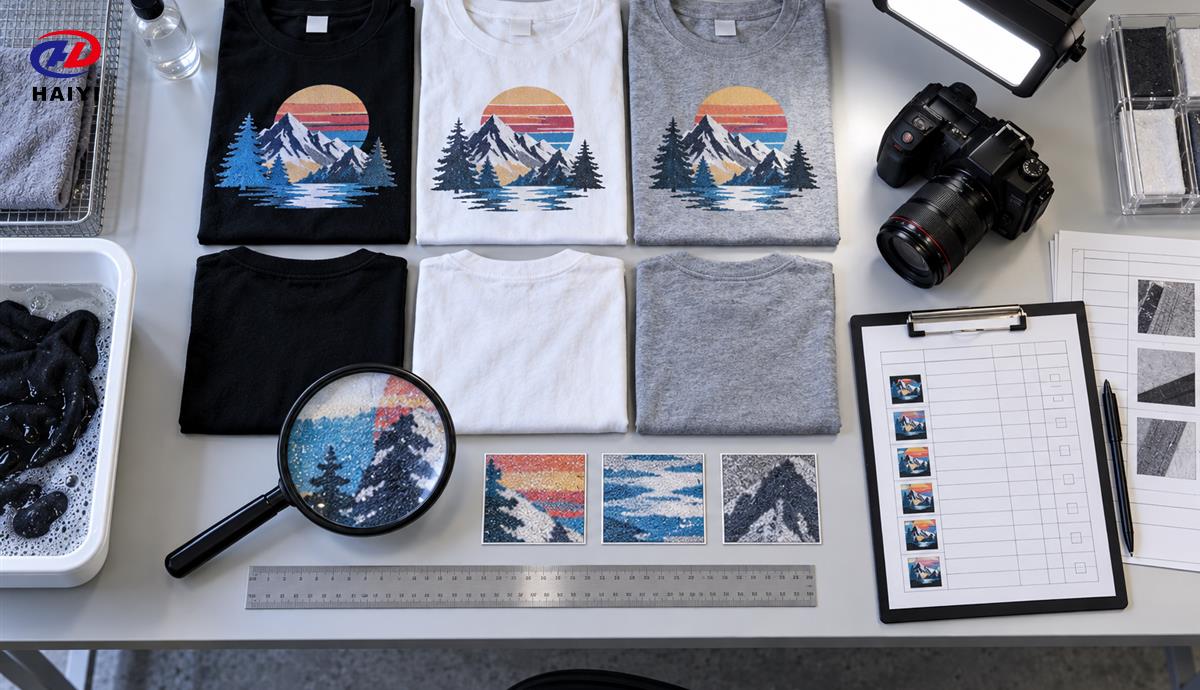
Use one artwork that contains a solid block, fine text, narrow lines, corners, gradients, and an open area. These elements expose different weaknesses. Pull garments from one fabric lot, use transfers from the same film and consumable lots, and assign every specimen a permanent sample ID. The record should connect that ID to the printer, ink, powder, film, cure method, press, operator, and date.
A controlled comparison changes only one factor. If the test compares two films, keep the ink, powder, cure, garment, press settings, and wash cycle constant. If the test compares pressure, use the same transfer batch and place samples in equivalent platen positions. A result cannot isolate a cause when several inputs change together.
What Must Be Recorded Before Washing?
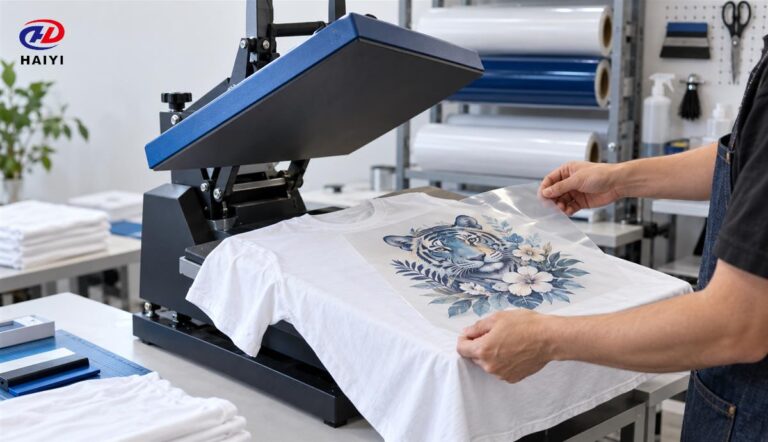
Photograph every sample under the same lighting and distance. Record color, gloss, hand feel, edge condition, visible pinholes, stretch response, and carrier release. A transfer that lifts before washing is an application failure, not a laundering failure. Measure the actual platen temperature where practical because a controller display does not prove that the whole pressing surface is uniform.
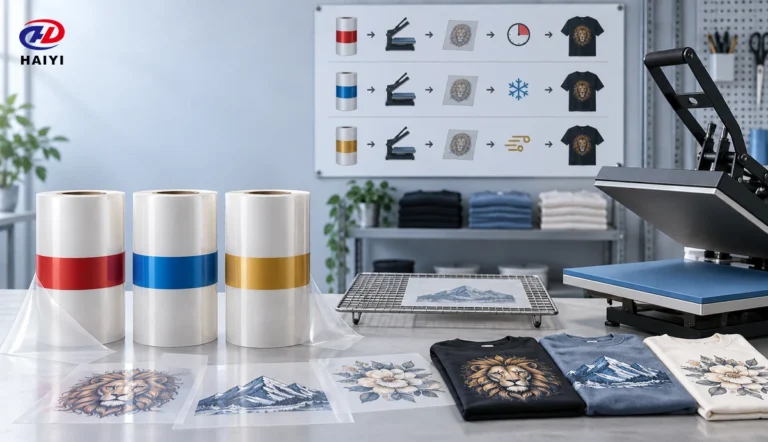
Record the film peel type and the real peel sequence. A hot-peel, warm-peel, or cold-peel film must be handled according to its approved window. The hot, cold, and instant peel comparison explains why production speed and peel behavior must be qualified together.
How Is a Controlled Wash Cycle Designed?
Define the waiting period after pressing, washer type, load size, program, water temperature, detergent dose, drying method, and inspection interval before testing begins. Keep garments inside out if that is the intended care instruction, but do not quietly change the method after a failure. The objective is repeatability, not an artificially easy test.
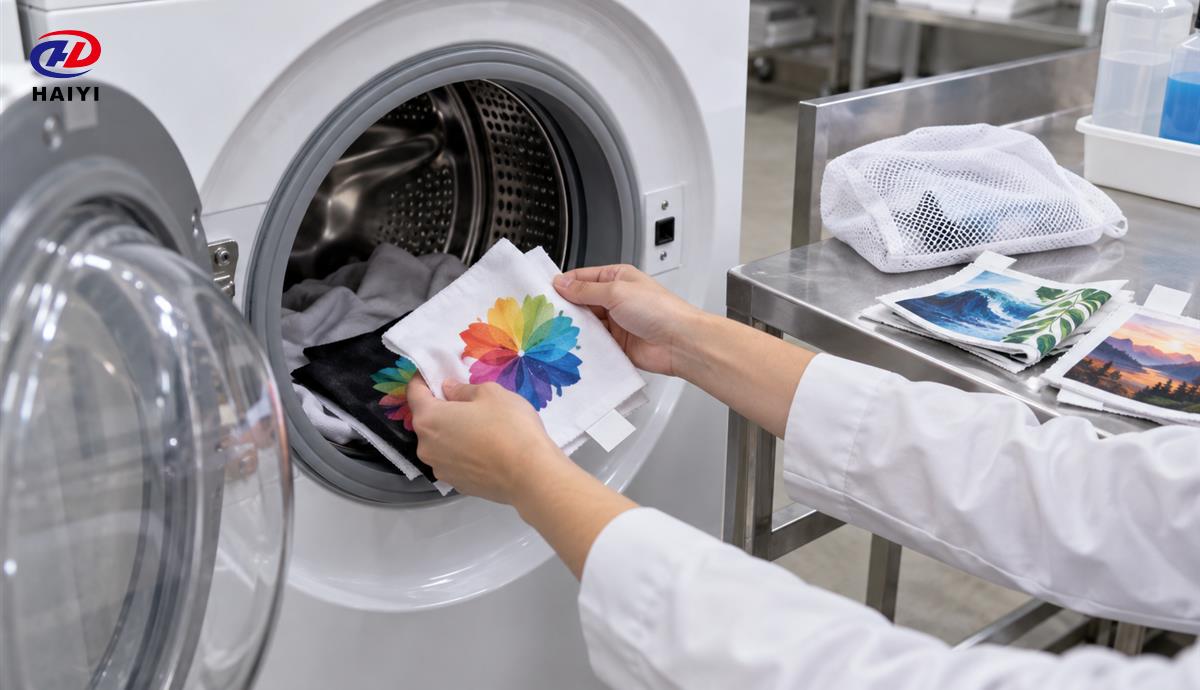
Include an approved control transfer in every load. If both the test and control fail, investigate the wash method or a shared production variable. If only the test sample fails, compare its film, ink, powder, cure, and press records. A control prevents the washer, dryer, or detergent from being mistaken for a film difference.
When Should Samples Be Inspected?
Inspect at planned intervals instead of waiting for one final cycle. Early observations show when damage starts and whether it progresses gradually or suddenly. Photograph the same design zones, note the affected area as a percentage, and record whether the damage follows an edge, stretch direction, seam, heavy white-ink region, or platen position.
Use consistent acceptance criteria. A distributor might define separate limits for edge lift, visible cracks at normal viewing distance, color change, and loss of small details. The number of wash cycles is meaningful only when the wash and dry conditions are documented.
How Do You Turn a Failure Into the Next Experiment?
Start with the failure pattern, then choose the smallest useful test matrix. Edge lift calls for pressure, platen-flatness, garment-preparation, and contamination checks. Cracking in stretch zones calls for comparison of film flexibility, powder grade, ink load, curing, and garment elongation. Powder-like shedding calls for inspection of powder coverage, absorbed moisture, cure completeness, and bond continuity.
Do not correct an apparent under-bond by adding heat automatically. Excessive heat or dwell can make a layer stiff, encourage dye migration, or damage a heat-sensitive textile. Verify actual temperature, contact, time, and pressure as a coordinated system. The DTF consumables compatibility protocol provides a broader matrix for qualifying film, ink, powder, and fabric together.
What Should a Supplier Receive With a Complaint?
A useful supplier report includes the film lot, roll position, ink and powder lots, printer model, white-ink settings, curing method, actual press conditions, garment composition, peel procedure, wash program, detergent, drying method, sample IDs, control result, and photographs before and after each interval. A single close-up photo without process data cannot distinguish a material issue from a production issue.
How Should B2B Buyers Approve DTF Film?
Buyers should approve a film as part of a defined system, not by appearance alone. Run the candidate film with the intended printer, ink, powder, fabric families, cure method, and heat press. Repeat the test across more than one roll or production batch when consistency matters. The batch comparison guide explains how to separate normal variation from a meaningful shift.
Haiyi supplies wholesale and customizable DTF film for distributors, print shops, and private-label programs. Contact Haiyi with your printer, ink, powder, fabric, roll size, peel requirement, test target, and expected volume to plan a sample qualification program before a bulk order.