






How Long to Press DTF Film: Time, Temperature and Pressure
Learn why DTF pressing time must be approved with temperature, pressure, peel timing, fabric, consumables, and verified heat press performance.

Estimated reading time: 5 minutes
There is no universal DTF pressing time. Many transfer systems use a first press measured in seconds, but the correct setting is the documented combination of time, platen temperature, pressure, peel condition, fabric, and consumables for the selected transfer. Start with the film or transfer supplier’s instructions, verify the heat press, and run a small test before production.
A number such as 10 or 15 seconds is only a starting reference when the rest of the process is known. Extending time cannot reliably correct low platen temperature, uneven pressure, incomplete powder curing, moisture, or an incompatible garment. This guide explains how to find a repeatable press window without treating one setting as suitable for every DTF system.
Why can two DTF films require different pressing times?
DTF transfer behavior is determined by the complete stack: printed ink, white layer, hot-melt powder, release coating, fabric, and heat press. Different powders soften and bond under different conditions, while different fabrics tolerate heat differently. The film also determines whether the carrier should be removed hot, warm, or after cooling.
The equipment changes the result as well. Two presses showing the same display value may deliver different surface temperatures or pressure distribution. A small clam press, a pneumatic press, and a large-format press do not automatically produce identical conditions. Treat the approved recipe as equipment-specific until testing shows it can transfer.
What settings must be recorded with pressing time?
| Zmienny | Dlaczego to ważne | Co nagrywać |
|---|---|---|
| Czas | Controls dwell under heat and pressure | First press, cooling interval, second press |
| Platen temperature | Activates the adhesive and affects the fabric | Set value and verified surface result |
| Ciśnienie | Creates contact across the design | Machine setting or repeatable reference |
| Peel condition | Controls release timing | Hot, warm, cold, and peel direction |
| Tkanina | Changes heat tolerance and bonding surface | Fiber, construction, finish, color |
A recipe without these companion variables is incomplete. Operators should also identify the film, ink, powder, printer profile, curing method, design coverage, and heat press. A saved process record helps the shop distinguish a material change from an equipment or operator change.
How do you establish the first test setting?
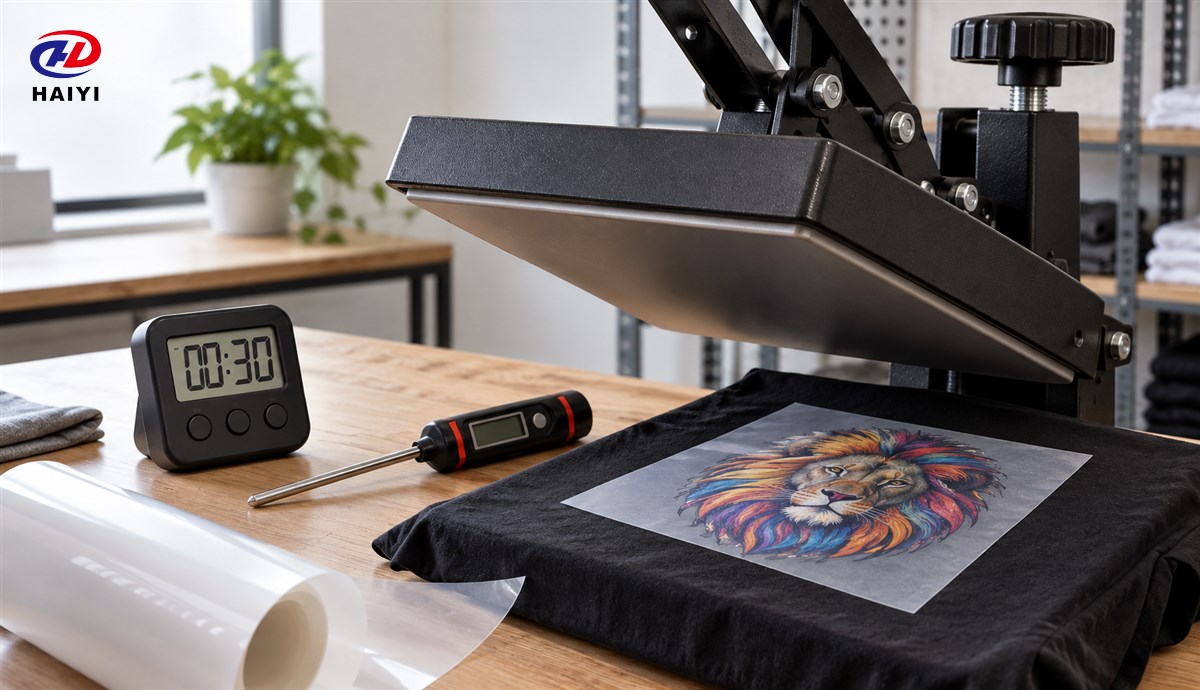
Use the current technical instruction for the specific film or ready-to-press transfer as the first test setting. If the instruction provides a range, begin near the center only when the fabric can tolerate it. Confirm whether the stated temperature refers to the press setting, actual platen surface, garment interface, or a curing stage. Curing printed film and transferring it to fabric are separate operations.
Authoritative equipment guidance also shows why supplier-specific testing matters. A DTF film printing guide from Epson states that optimum conditions vary with film, powder, fixing device, fabric, ink load, and press type, and it instructs operators to test the result in advance. The useful principle is not a copied number; it is control of the complete combination.
How do you verify the heat press before timing a test?
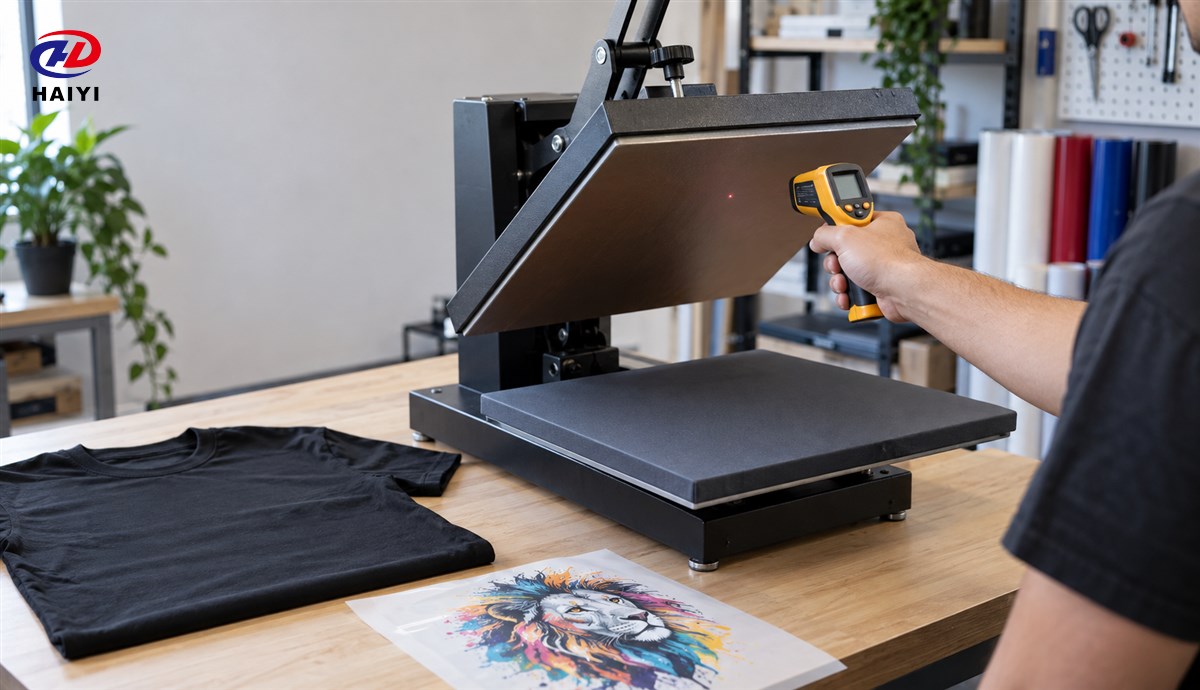
Check that the press is clean, stable, and suitable for the design area. Verify temperature across multiple platen locations using an appropriate measurement method and follow the press manufacturer’s safety instructions. A cool edge or uneven platen can create partial adhesion even when the center is correct.
Pressure should be even across the transfer area. Thick seams, collars, pockets, zippers, or platen wear can prevent uniform contact. Use a suitable lower platen, pad, or garment positioning method when approved for the equipment. Do not solve a local contact problem by increasing time for the entire garment.
What is a safe step-by-step test method?
- Condition the garment and transfer in the production environment.
- Record the film, powder, curing state, fabric, press, and supplier starting recipe.
- Pre-press only when the approved process requires moisture or wrinkle removal.
- Press one sample using the stated time, temperature, and pressure.
- Peel at the specified hot, warm, or cold condition without changing the timing.
- Inspect edges, fine detail, full coverage, stretch behavior, surface marks, and fabric distortion.
- Change one variable at a time and repeat if the first sample fails.
Ten DTF film peel timing guide explains how the removal window changes the diagnosis. A cold-peel transfer removed hot can fail even when the first-press time was correct.
What do common press defects indicate?
Edges that lift may indicate inadequate contact, insufficient activation, moisture, an incorrect peel condition, or a transfer that was not fully cured. Scorching, shine, dye migration, platen marks, or fabric distortion point toward excessive thermal or mechanical exposure for that substrate. A failed sample is evidence to diagnose, not proof that time alone should increase.
Uneven failure across one design often points to platen or pressure distribution. Uniform weak bonding may point to the recipe, curing, powder, or material compatibility. Keep the failed sample and process record so the next test changes the most plausible variable rather than restarting from guesswork.
Does a second press change the first press time?
A second press may improve surface finish or help consolidate the transfer when the supplier specifies it, but it is not universal. Record its time, cover sheet, temperature, and pressure separately. Adding the first and second press times into one total hides two different process stages and makes troubleshooting difficult.
Inspect the finished sample after cooling and, for production approval, use a defined durability check. The DTF consumables compatibility test connects press settings with print, cure, peel, and finished-transfer results.
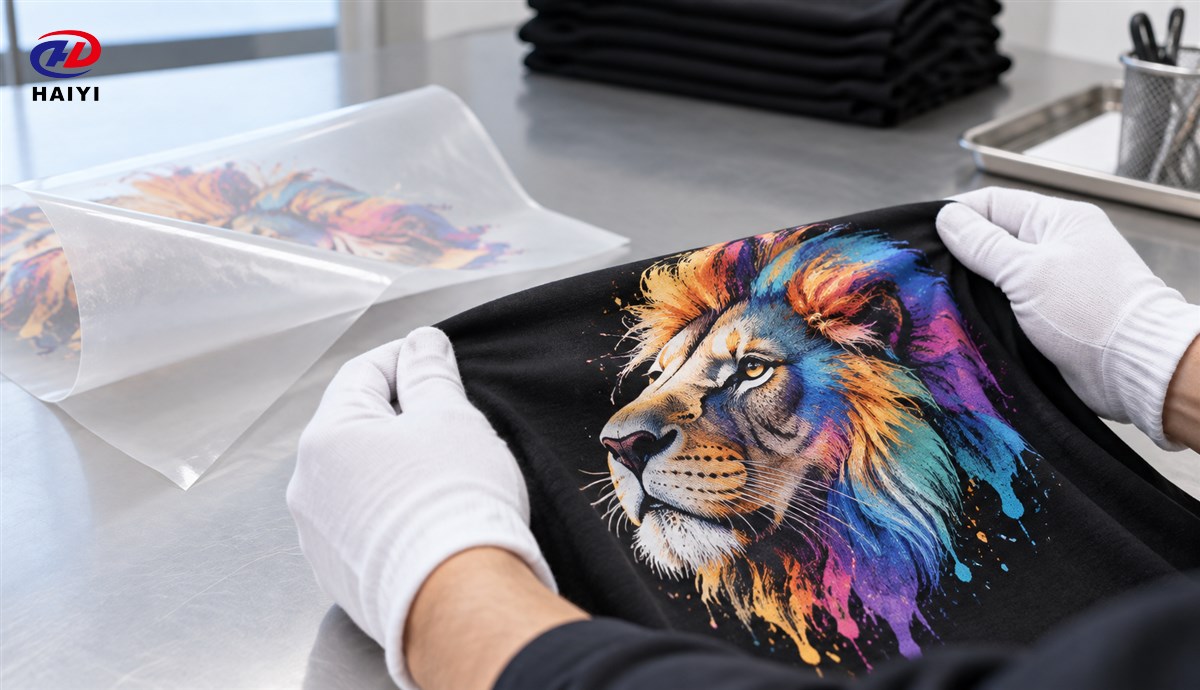
Get film-specific pressing support from Haiyi
Haiyi provides wholesale and customizable DTF film for distributors and print operations. Send the exact film SKU, ink and powder system, curing method, fabric, heat press type, current settings, peel method, and defect photos when requesting support. Those details make a process recommendation more useful than a universal time claim.
Contact Haiyi for DTF film samples and technical information. Validate the final recipe on the buyer’s own equipment and fabric before releasing a production batch.