





UV DTF Printing Process: From A Film to Finished Transfer
Follow the complete UV DTF process from artwork and A-film printing through curing, B-film lamination, cutting, application, and quality control.

The UV DTF process converts digital artwork into a pressure-applied hard-surface transfer through six connected stages: artwork preparation, A-film loading, UV printing and curing, A/B lamination, cutting, and application. Every stage must match the specific printer, ink, film, and laminator. A universal setting does not exist, so production should begin with supplier instructions and a controlled test.
What Equipment and Materials Does UV DTF Require?
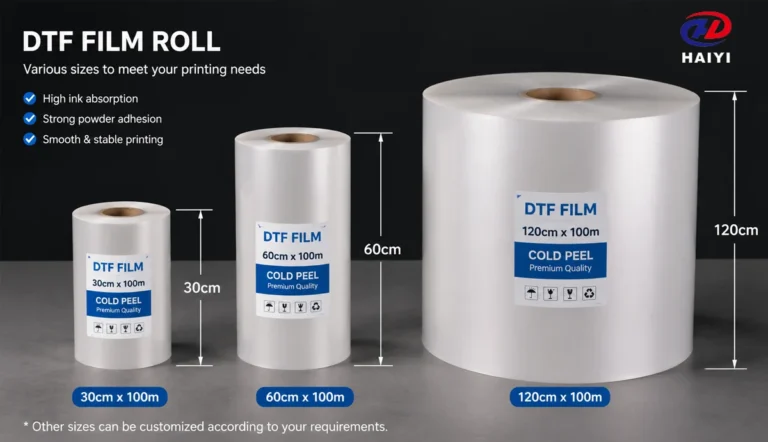
A complete workflow normally includes a compatible UV printer, RIP software, UV-curable color and white inks, varnish where required, A film, B film, a laminator or integrated lamination module, cutting tools, lint-free cleaning materials, and a squeegee. The A and B films must be treated as a matched system because printing, release, lamination, and transfer behavior depend on their coatings.
UV DTF is designed mainly for smooth rigid goods. It does not use textile DTF powder or a garment heat press. The Guía de compra de películas UV DTF explains how film format, coating consistency, release, and surface application affect purchasing.
Step 1: How Should the Artwork Be Prepared?
Prepare a print-ready file with adequate resolution, correct dimensions, and a transparent background when no visible label panel is wanted. Check isolated dots, fine strokes, small text, white objects, gradients, and varnish boundaries. Nest multiple decals efficiently, but leave enough handling and cutting space for the intended workflow.
Step 2: How Is A Film Loaded Correctly?
Identify the printable side using the supplier’s instructions, protect the coating from fingerprints, and allow stored film to stabilize in the production environment. Load the roll or sheet square to the feed path. Wrinkles, telescoped rolls, dust, static, or damaged edges can create head strikes, registration errors, and lamination bubbles.
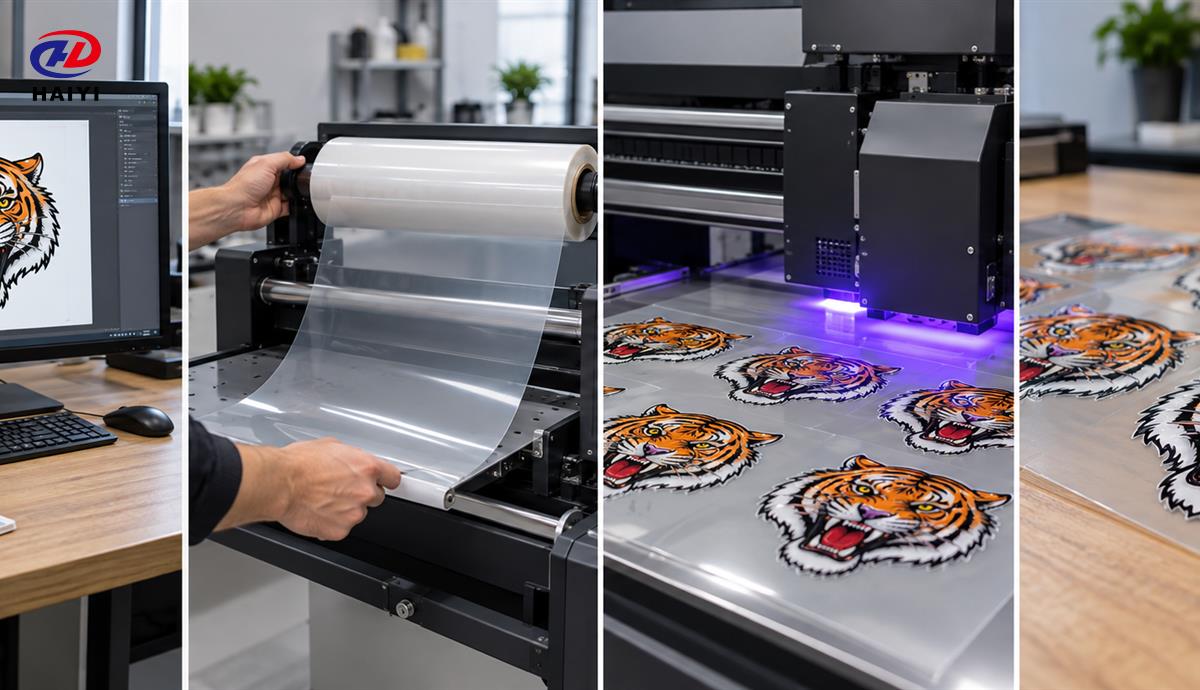
Step 3: What Happens During Printing and UV Curing?
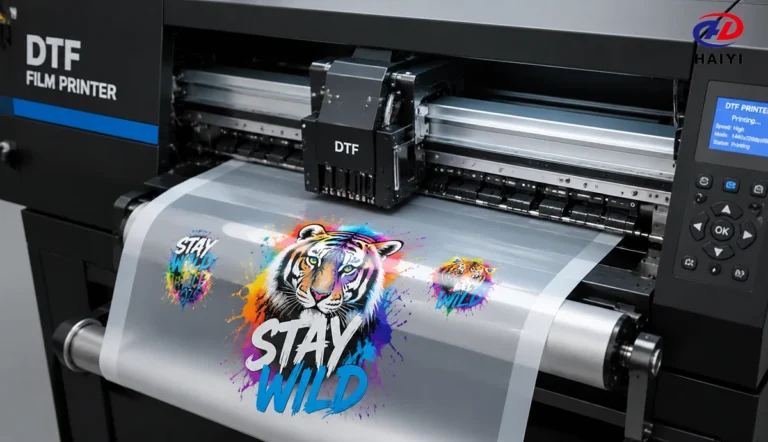
The printer deposits the required color, white, varnish, and any system-specific layers while UV energy cures the ink. Layer order varies with equipment and film architecture, so operators should not copy an unrelated machine’s sequence. Verify nozzle condition, bidirectional alignment, white-to-color registration, ink density, lamp output, and film flatness before a production run.
Under-cured ink can smear, deform, or separate during lamination. Excess exposure can change flexibility or release behavior. Approve curing by inspecting adhesion, surface condition, and transfer performance rather than relying only on a displayed lamp percentage.
Step 4: How Are A Film and B Film Laminated?
Align B film evenly with the printed A film and use the pressure, temperature, and speed specified for the matched system. Some workflows use cold lamination, while particular systems specify controlled warmth. The correct condition is the one validated for the actual materials and machine.
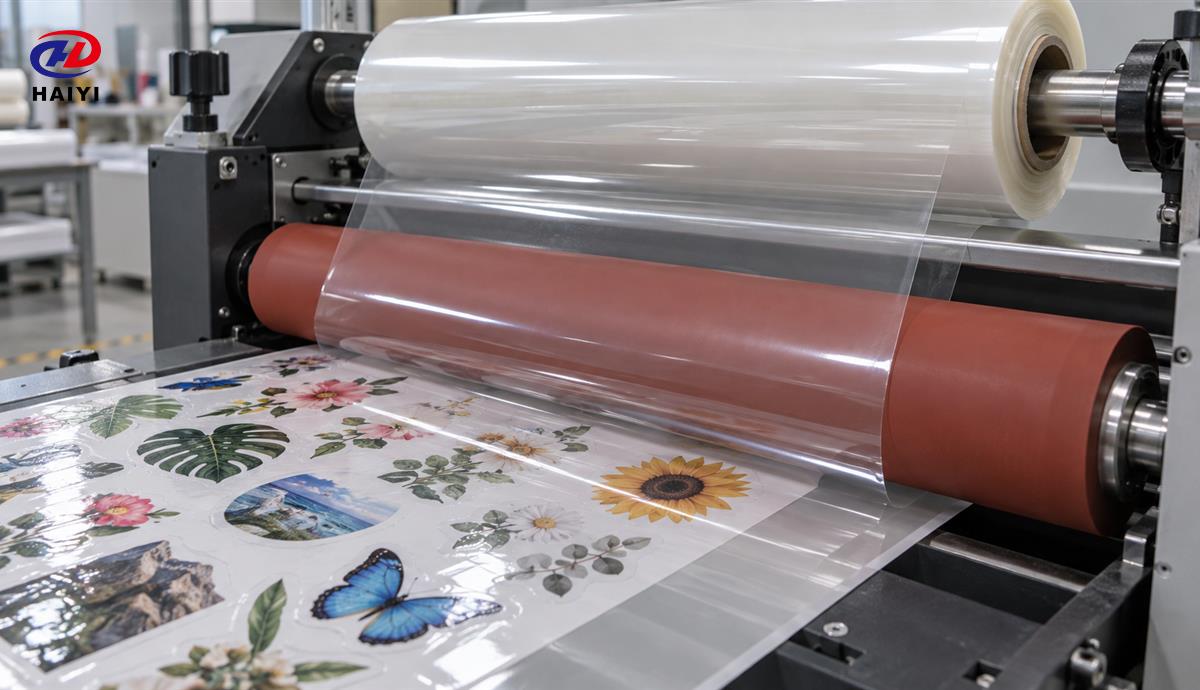
Inspect the laminate for bubbles, silvering, wrinkles, trapped dust, edge wandering, and uneven pressure. If a defect repeats across the web, stop and correct alignment, roller cleanliness, nip pressure, tension, or film flatness before consuming more material.
Step 5: How Is the Finished Transfer Cut and Stored?
Cut individual decals or sheets without damaging the printed area. UV DTF normally does not require weeding around every detail because only the printed graphic transfers. Keep finished transfers flat, clean, and protected from heat, excessive moisture, dust, and direct sunlight. Record the film and ink lots so a later application issue can be traced.
Step 6: How Is a UV DTF Transfer Applied?
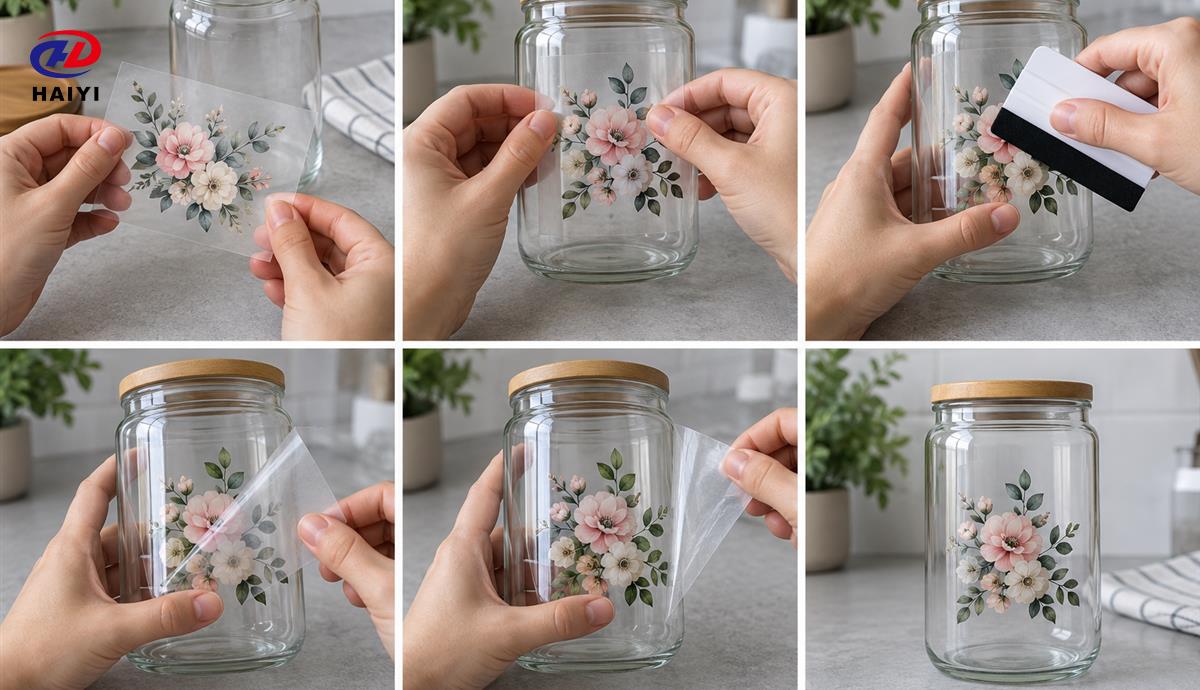
- Confirm that the object is rigid, smooth, clean, dry, and compatible.
- Remove oils, waxes, release agents, dust, and fingerprints.
- Position the decal before allowing the adhesive to contact the surface.
- Apply from one edge or the center outward with uniform squeegee pressure.
- Burnish fine details and edges.
- Peel the carrier slowly at a shallow angle and re-press any lifting area.
Which Defects Reveal the Failing Process Stage?
| Defect | Likely stage | First checks |
|---|---|---|
| Color and white misregistration | Impresión | Alignment, media feed, pass settings |
| Ink smears during lamination | Curación | UV output, ink load, lamp condition |
| Bubbles or wrinkles | Lamination | Roller cleanliness, tension, pressure, film flatness |
| Design remains on A film | Compatibility or lamination | Cure, A/B match, contact, release |
| Design lifts from the product | Solicitud | Surface chemistry, contamination, pressure |
How Should a B2B Buyer Qualify UV DTF Film?
Run a pilot that includes the intended artwork, smallest details, production speed, laminator, storage interval, and representative product surfaces. Record waste, release, bubbles, transfer completeness, edge adhesion, scratch response, and operator handling. Buyers can use the UV DTF film quality checklist to structure incoming inspection.
Haiyi supplies wholesale and customizable transfer film for distributors, printers, and private-label programs. Contactar Haiyi with your printer, ink configuration, laminator, film dimensions, target surfaces, sample plan, packaging requirement, and projected volume.